(416) 250-6856
 contact@drywalltoronto.ca
 Mon-Fri: 8AM - 4PM

Step-by-Step Guide – How to Build a New Wall in Your Home
At Express Drywall Services, we know that adding a new wall can completely reshape the way you use your home. Maybe you need an extra bedroom, a quiet office space, or simply more storage – walls define function. The good news is that with the right tools and planning, many homeowners can take this on. A single partition wall doesn’t mean weeks of disruption, but attention to detail matters.
Sloppy framing leads to uneven drywall and rushing mudding leaves visible seams. Done properly, however, the wall blends seamlessly with your existing space. Think of this as a focused weekend project with a clear sequence: plan, frame, wire, cover and finish. By following these professional tips on how to build a new wall, you’ll see how we approach wall construction with precision and care.
Before You Start Building a Wall
Every project benefits from groundwork before the saw comes out. A wall changes not only the look of a room but also how it functions, so it’s worth pausing to think through the details. Local codes, layout and budget all play a role in whether the project feels smooth or frustrating. That’s why we always encourage clients to review these early considerations. We’ve seen projects stall simply because small steps were skipped at the start. A careful review here saves money, time and stress once construction begins.
Check Local Codes
Permits are sometimes required even for non-load-bearing walls. Inspectors may review framing, electrical or drywall before approval. Skipping permits risks problems down the line, especially if you sell your home. A quick call to the local building office can save weeks of trouble. We guide homeowners through this process so they don’t feel lost in paperwork. Clear approvals also give peace of mind knowing everything is fully compliant.
Think About Room Layout
Walls divide space and affect flow. Door swings, furniture and natural light should all be considered before construction begins. A wall that looks good on paper may feel awkward in practice. Using painter’s tape on the floor to map the wall helps you visualize. We sometimes create temporary mock-ups with lightweight boards so clients can walk through the space. This small step makes final decisions much more confident and accurate.
Budget for Materials
Even a simple wall carries costs: studs, drywall, screws, tape, mud, primer and paint. Add more for insulation, doors or wiring. We always set a budget with clients before work begins so there are no surprises. Planning upfront makes the process smooth and stress-free. Prices for lumber and drywall can fluctuate, so we recommend allowing a cushion in the budget. It’s better to have a little extra set aside than to cut corners at the finishing stage.
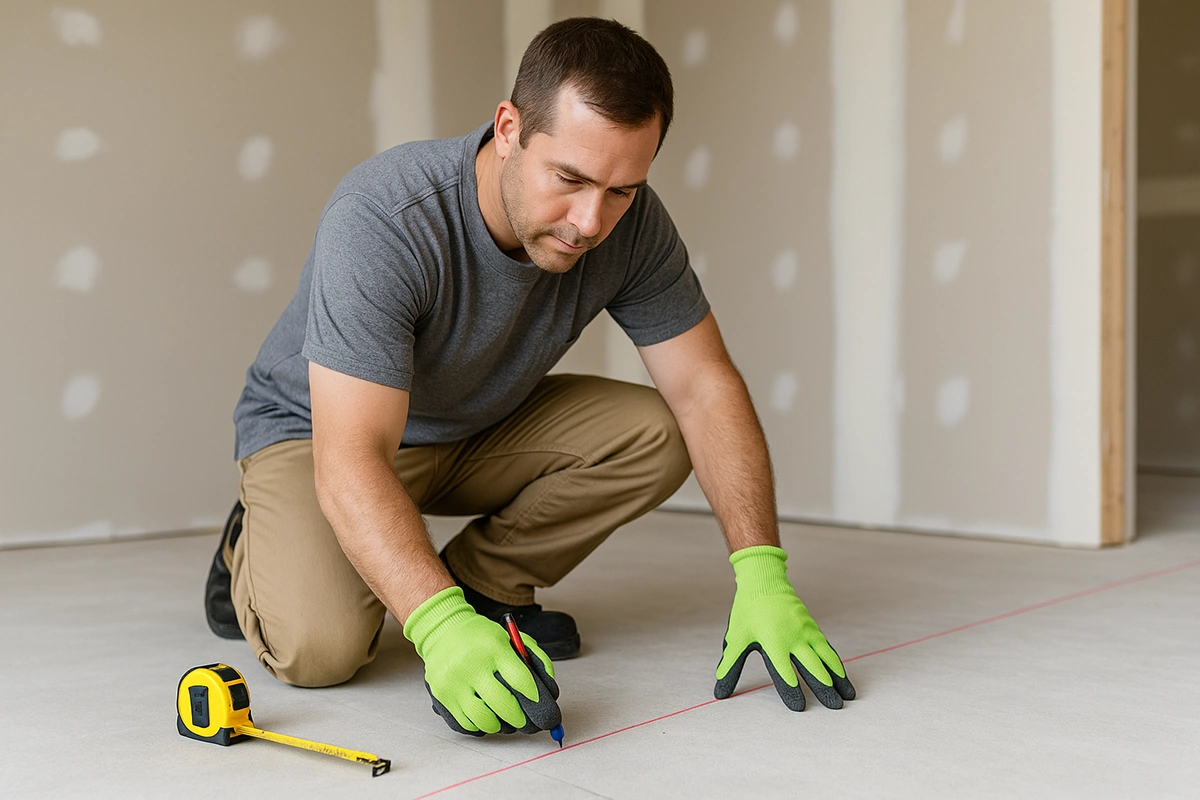
Step 1 – Plan Before You Pick Up a Saw
Planning is the foundation of every project. We mark the exact position of the wall and measure carefully before cutting any lumber. We also check for hidden pipes, wires or vents – catching these early avoids costly repairs. Our team uses stud finders and small test cuts to confirm. For most walls, we use 2×4 studs spaced 16 inches apart to match drywall sheets. Before framing, we chalk out the wall’s footprint so clients can see how the room will feel.
Checklist we review during planning:
-
Room layout – door swing and furniture placement.
-
Utilities – wiring, HVAC ducts or plumbing in the way.
-
Materials – treated plates for basement concrete.
Step 2 – Gather Your Tools and Materials
Before we begin construction, everything is prepared on site. This avoids unnecessary delays and ensures clean workflow.
Materials we typically use:
-
2×4 lumber or metal studs for straight walls
-
Drywall sheets, usually ½ inch thick
-
Drywall screws and construction adhesive
-
Acoustic insulation, when sound control is requested
Tools we rely on:
-
Circular saw and power drill
-
Levels, tape measures and chalk lines
-
Utility knives for clean drywall cuts
Optional equipment like a drywall lift makes installation easier, but we’re fully equipped regardless of project complexity.
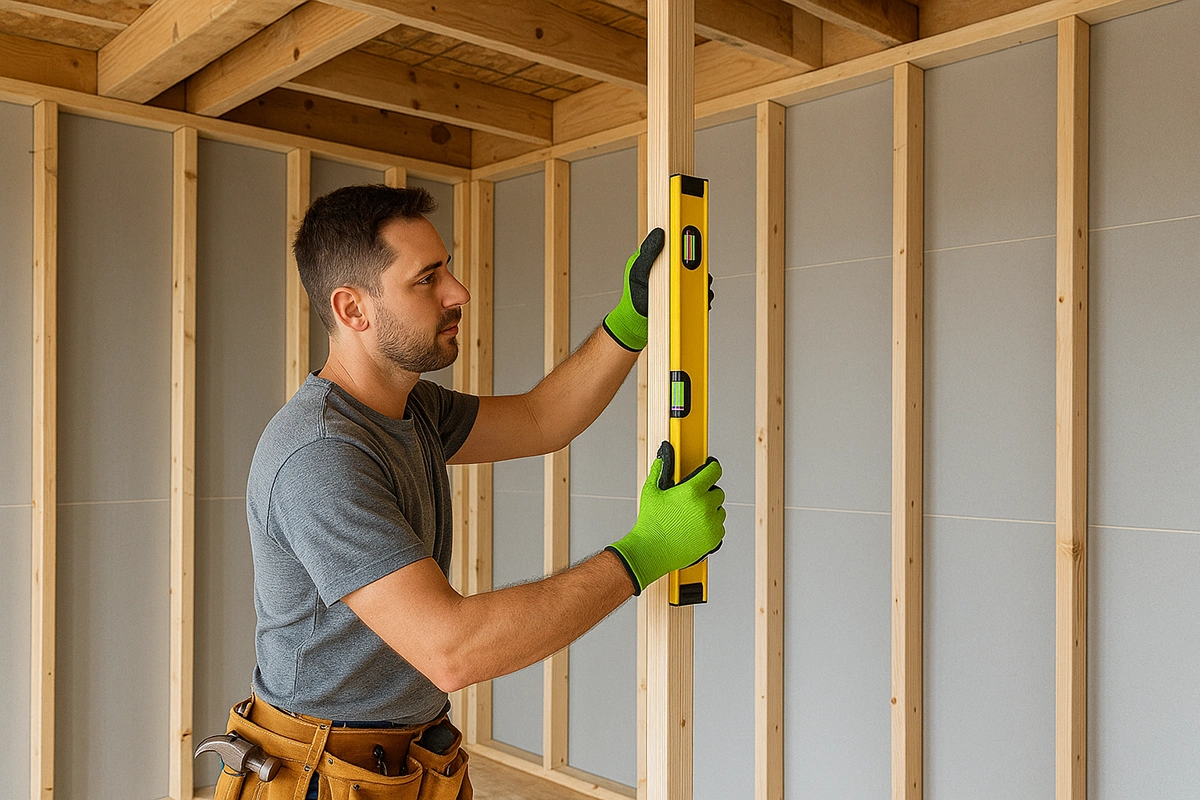
Step 3 – Build the Base and Top Plates
We cut boards to the exact length and anchor one to the floor, the other to ceiling joists. Using levels, we make sure both plates align vertically. This step sets the foundation – if plates aren’t square, the entire wall will fight alignment. On concrete, we use masonry anchors to secure the base plate. Once this step is complete, we know the wall will frame straight.
Step 4 – Add the Studs
Vertical studs are set at 16-inch intervals for proper drywall support. Each stud is fastened top and bottom, checked with a level to ensure plumb. For doorways, we install extra studs and a header for stability. Corners receive doubled studs so drywall edges overlap securely. We also add blocking where shelves, cabinets or TVs may later be mounted. These details ensure the finished wall performs for decades.
Step 5 – Run Wiring Before Closing It Up
Wiring and insulation are handled at this stage. If outlets, switches or network lines are needed, our licensed electricians set them before drywall is hung. Cutting into finished walls to add wires later is messy and expensive. In many projects, we also add sound insulation between studs. It’s a small upgrade that makes a big difference for bedrooms, offices or media rooms.
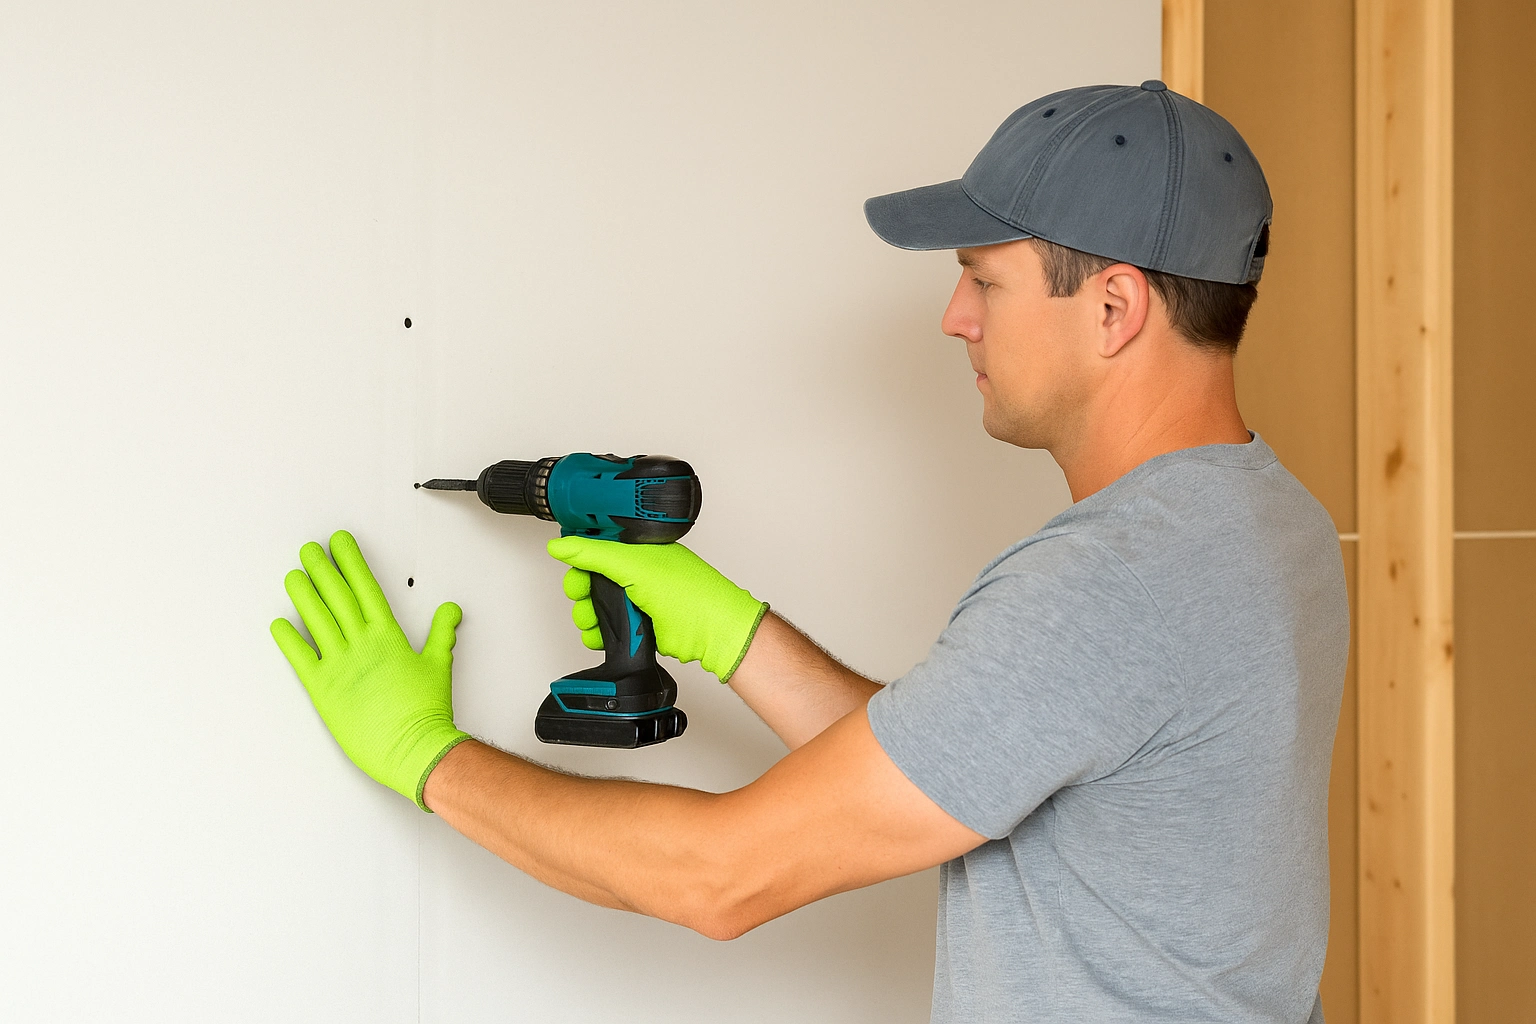
Step 6 – Hang the Drywall
Our crew installs drywall sheets with screws every 12 inches along studs. We stagger seams to prevent cracking and use a score-and-snap method for clean cuts. Openings for doors, outlets or windows are carefully measured and cut. Each board is checked for tight seams and minor gaps are filled with compound. Once complete, the space transforms quickly from framing to finished surfaces.
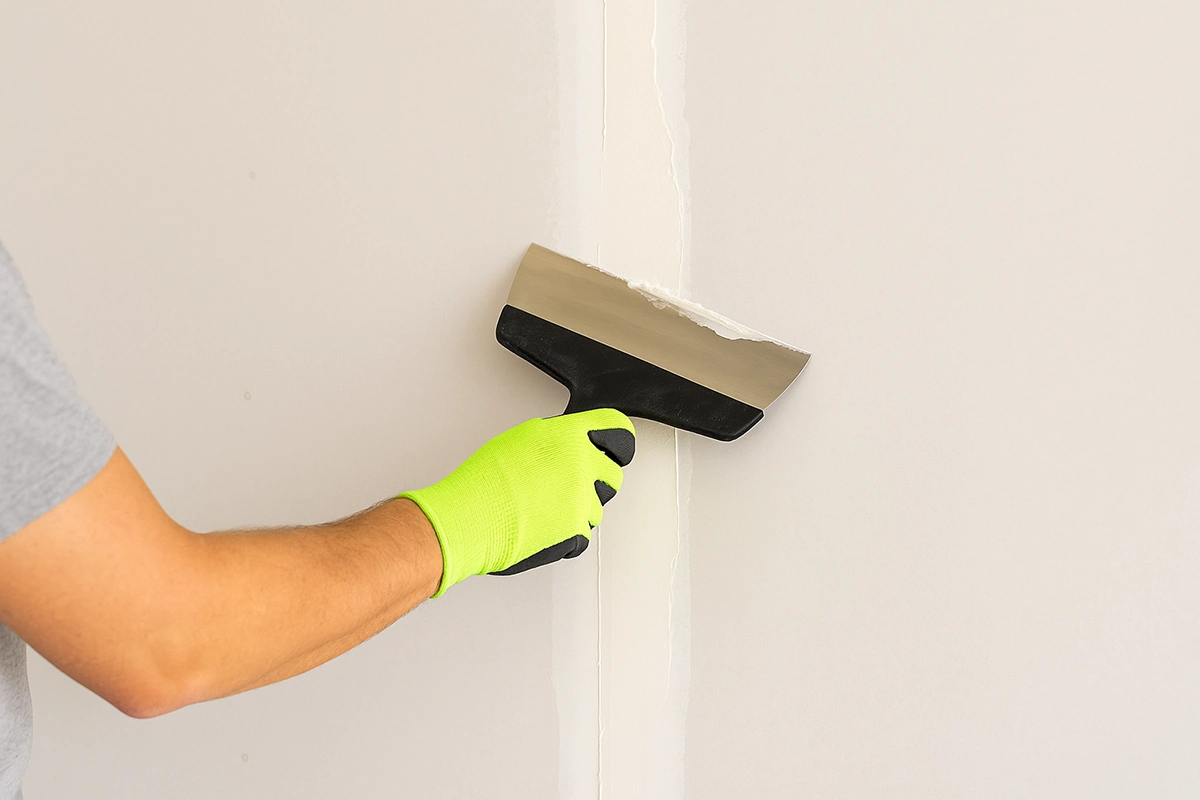
Step 7 – Tape, Mud and Sand
We apply tape over joints and cover with joint compound. Each coat is feathered wide to create seamless transitions. After drying overnight, we sand lightly and repeat with thinner coats. Typically, two to three passes create a flawless finish. Patience matters here – rushing leads to visible seams. With professional tools and dust control, we ensure smooth results without the mess.
Step 8 – Prime and Paint
Primer is applied to seal the fresh drywall. This prevents uneven paint absorption and prepares for the final finish. We recommend at least two coats of paint afterward for consistency. Our team uses medium-nap rollers for smooth application. Once painted, trim and baseboards are installed to match existing décor. The new wall looks like it was always part of the house.
Step 9 – Common Pitfalls to Avoid
We often get called to fix DIY walls gone wrong. The most common mistakes include:
-
Forgetting to check stud alignment
-
Failing to add wiring or insulation before closing the wall
-
Applying joint compound too thickly
-
Using untreated wood on basement concrete
By avoiding these errors and relying on experienced hands, your wall will stand straight, strong and clean.
Step 10 – When to Call a Pro
Not every wall is suited for DIY. If the wall affects load-bearing structure or involves major electrical and plumbing changes, professional support is essential. At Express Drywall Services, we handle both simple partition walls and complex structural builds. Homeowners often choose to tackle design decisions themselves while leaving framing, wiring and finishing to us. It’s the best way to balance cost, safety and quality.
Why Choose Express Drywall Services
At Express Drywall Services, we don’t just build walls – we create lasting improvements for your home. Our team combines precision framing, flawless drywall finishing and clean site management. Clients trust us because we deliver on schedule without cutting corners. Whether it’s a basement, an office or a bedroom, we’ve worked in every type of residential space and understand the details that make a wall durable and seamless. With licensed trades for wiring, careful material selection and a commitment to detail, we turn what could be a stressful project into a smooth, predictable experience.
Drywall Services We Offer
In addition to wall construction, we provide a complete range of drywall and finishing services across Toronto and the GTA:
-
Drywall installation and repair for residential and commercial projects
-
Framing and insulation for comfort, strength and energy efficiency
-
Taping, mudding and sanding for flawless finishes
-
Priming and painting to complete the look
-
Soundproofing and fire-resistant assemblies for added safety and comfort
-
Custom archways and design features to give your interiors unique character
-
Popcorn ceiling removal and Aria vent installation for modern, updated spaces
When you’re ready to upgrade your home or add a new wall, our team is here to help. Reach out to Express Drywall Services and let us turn your ideas into reality.