
 (416) 250-6856
 contact@drywalltoronto.ca
 Mon-Fri: 8AM - 4PM

Metal Door and Access Door Installation – The Last Thing Contractors Think About
Metal doors and access doors show up late in the construction sequence. By the time they’re going in, the drywall is done, the trades are wrapping up, and the GC is pushing toward occupancy. Nobody’s excited about them. They’re not a feature — they’re infrastructure.
That’s exactly the problem.
Hollow metal door frames, in particular, need to be set early — before the drywall — or the surrounding assembly has to be built around them after the fact, which is more labour and less clean. Access doors need to be located, sized, and coordinated with mechanical and electrical before the wall closes in, or you’re cutting back into finished work. Both items have code implications. And both are almost always scheduled too late.
We’ve been installing metal and access doors on commercial projects across the GTA for over 20 years. Here’s what actually matters.
Hollow Metal Door Frames – What They Are and Why They’re Commercial Standard
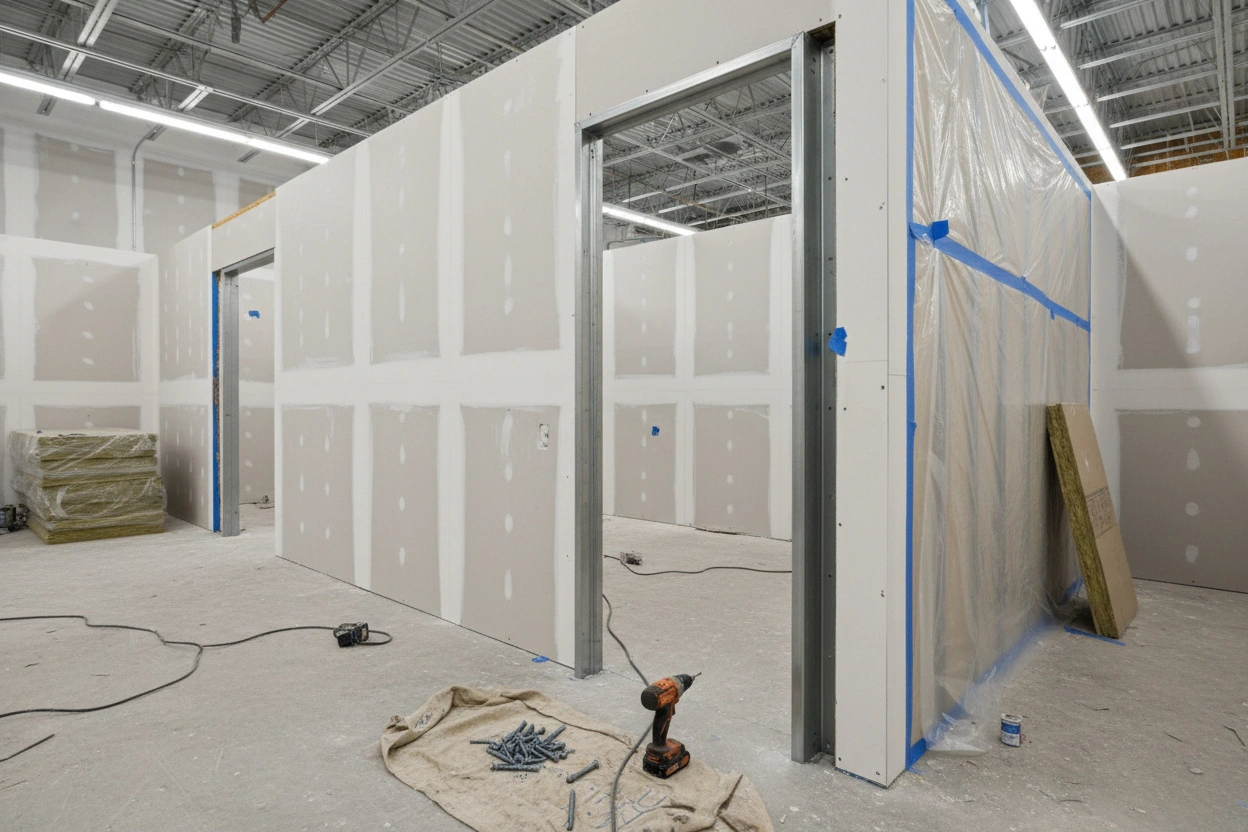
A hollow metal (HM) door frame — also called a pressed steel frame or commercial steel frame — is a welded or knocked-down steel door frame used in commercial, institutional, and multi-residential construction. The face and jamb components are formed from 16- or 18-gauge cold-rolled steel, welded at the corners or shipped as separate pieces for field assembly.
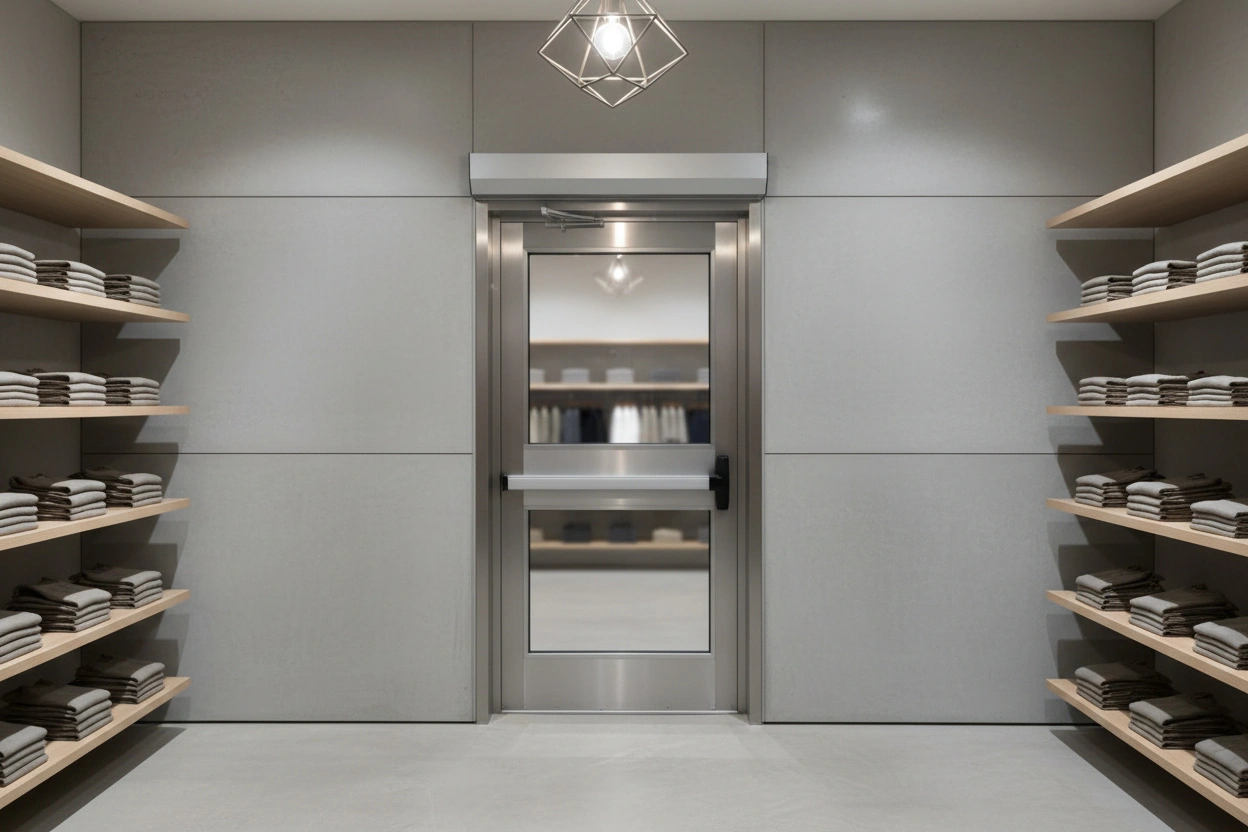
They’re the standard in commercial construction for several reasons. Steel frames are non-combustible, dimensionally stable, and can be supplied in fire-rated configurations tested to ULC standards. They don’t warp, swell, or rack over time the way wood frames do. And they’re designed to accept commercial-grade hardware — closers, levers, push plates, panic devices — without custom modification.
In Ontario, fire-rated door assemblies — the door, frame, and hardware as a complete unit — must meet OBC requirements and carry a ULC label. The rating on the frame has to match the rating of the door and the assembly. You can’t mix a 45-minute door into a 90-minute frame and call it compliant.
Welded vs. Knocked-Down Frames
Welded frames arrive pre-assembled. They require the rough opening to be framed and the frame to be set before the surrounding wall is built — which is the right sequence for new construction but awkward for retrofit.
Knocked-down (KD) frames ship in three pieces: two jambs and a head. They can be installed after the wall is framed and partially drywalled, which makes them the practical choice for renovation and tenant improvement work. KD frames require careful alignment during installation — the anchors, plumb, and squareness of the frame determine whether the door operates correctly for the life of the building.
Getting a KD frame plumb and square in a steel-stud wall is straightforward if you know the sequence. Rush it and the door will never hang right.
The Installation Sequence That Actually Works
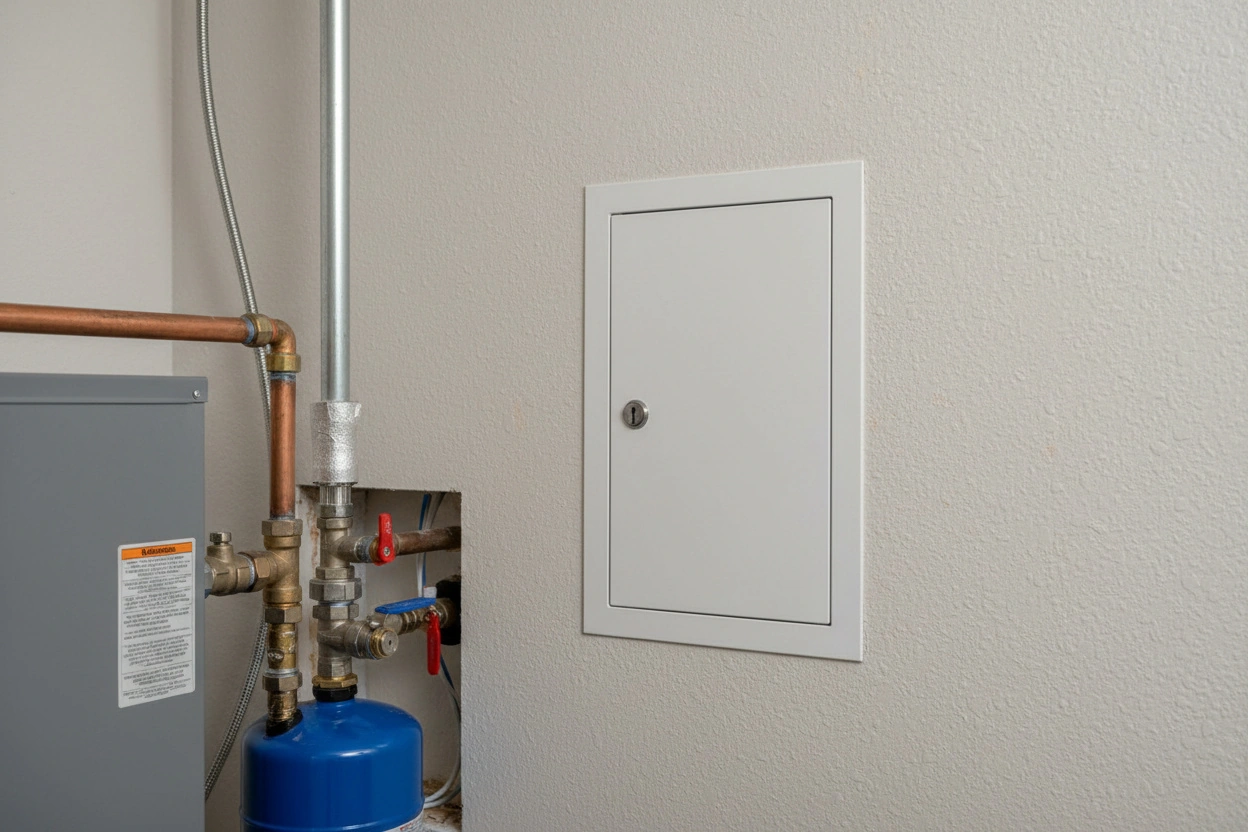
Hollow metal frame installation isn’t complicated, but the sequence matters. Doing it out of order creates problems that are expensive to fix.
Step 1 – Rough Opening Preparation
The rough opening in the steel stud framing has to be sized correctly for the frame and door specified. Most HM frames require a rough opening 2 inches wider and 2 inches taller than the door size. The framing at the opening needs to be reinforced — standard partition studs at the jambs are not adequate for a commercial metal door. Double or triple studs at each jamb, with a properly sized header, are the standard.
Step 2 – Frame Setting and Anchoring
For welded frames in new construction, the frame is set before drywall and anchored to the floor and framing. Floor anchor clips connect to the slab; wall anchors connect to the framing at prescribed intervals. The frame has to be plumb, level, and square — check it in all three planes before the anchors are tightened.
For KD frames in retrofit, each jamb goes in independently, anchored to the framing, and the head is set last. The critical check: diagonal measurements across the frame opening should be equal. Any deviation and the door will bind.
Step 3 – Drywall at the Frame
The drywall returns into the frame’s throat — the channel depth of the frame is sized to match the wall thickness. If the wall thickness changes (double drywall on one side for acoustic or fire-resistance reasons), the frame needs to accommodate that. Ordering the wrong frame throat depth is a common error on projects with fire-rated assemblies.
Step 4 – Hardware Preparation and Door Hang
Hardware prep — mortising for hinges, cutouts for locksets and closers — is typically done by the door supplier before delivery. On site, the door is hung by adjusting the hinge positions, then the hardware is installed. Strike plate alignment is the last adjustment and sets how the latch engages.
A door that’s out of plumb by 3mm will drift open on its own. A door with a misaligned strike will feel wrong every time someone uses it for the next 30 years. These are small things that matter every day.
Access Doors – Coordination Is Everything
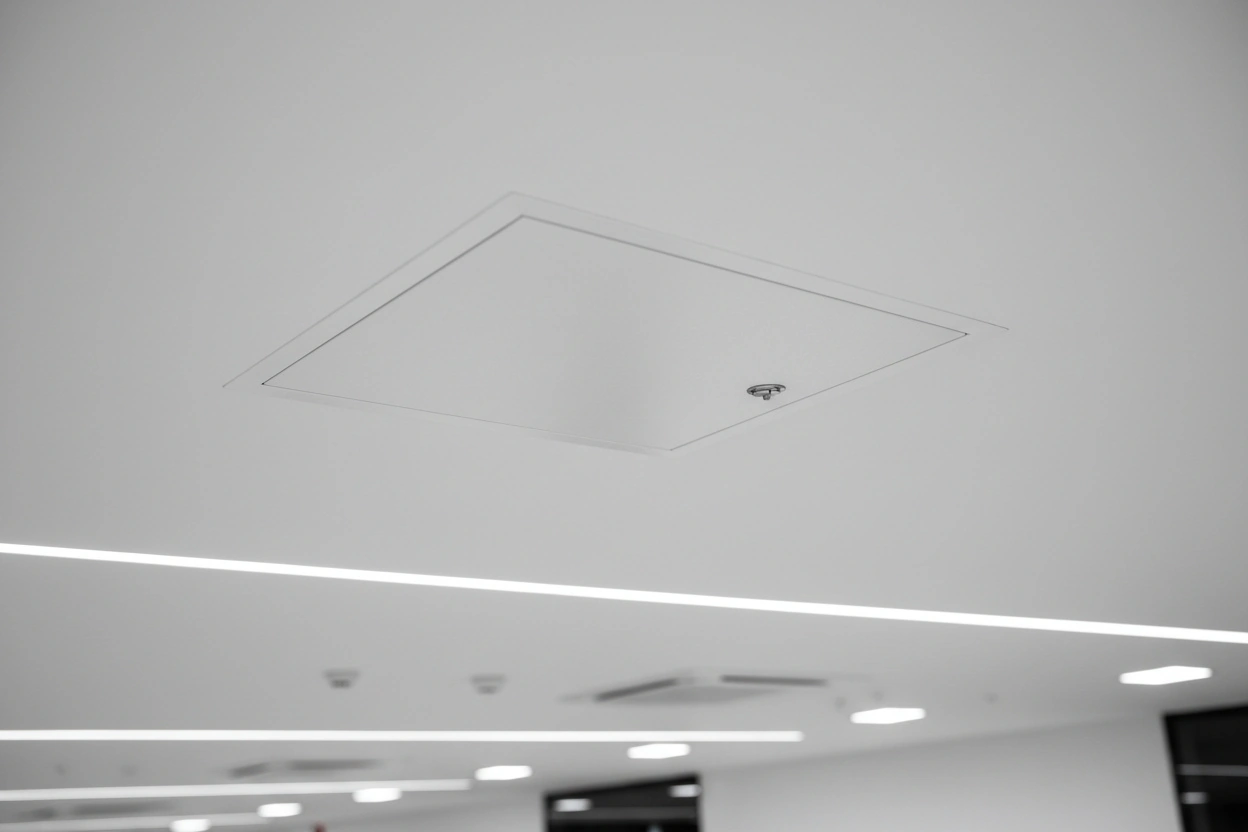
Access doors — panel doors, hatch doors, flush access panels — provide entry to concealed spaces for maintenance: duct cleanouts, valve shutoffs, electrical junction boxes, fire damper reset. They’re installed in drywall ceilings and walls, and they exist because eventually, something in the ceiling or behind the wall will need servicing.
The problem: they’re usually specified by the mechanical or electrical engineer, their locations are often not shown clearly on architectural drawings, and nobody coordinates their position relative to the drywall grid until the ceiling is going in.
Size Selection
Access door sizes need to match the task they’re providing access to. A 12″ × 12″ panel is fine for a valve. It’s not adequate for a fire damper that requires a maintenance technician to reach through with both arms. Access door sizing should be confirmed with the mechanical engineer before ordering.
Standard commercial sizes — 12×12, 14×14, 16×16, 24×24 — are stocked by most suppliers. Odd sizes cost more and take longer. Confirm sizes early.
Location Coordination
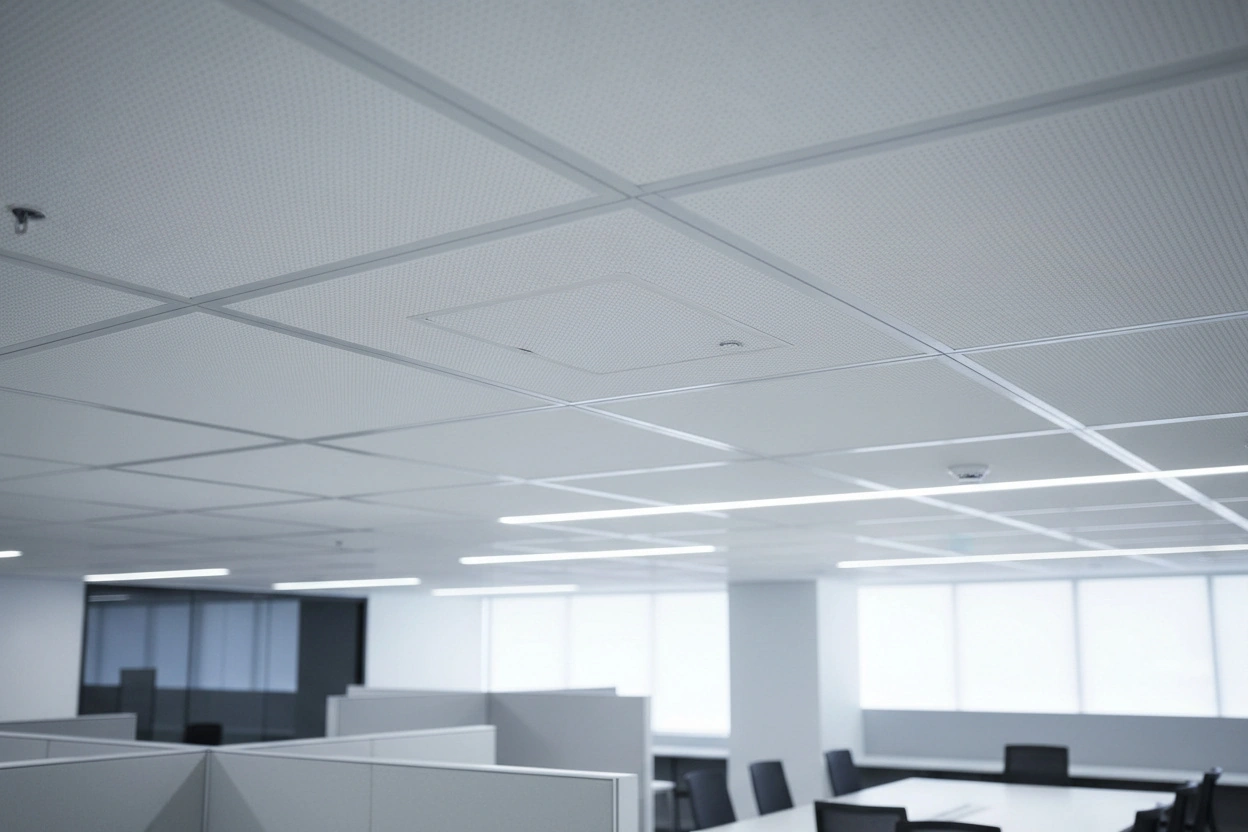
Access panels in ceilings need to be located relative to the T-bar grid or drywall ceiling layout. A panel that falls mid-tile in a T-bar ceiling is a problem — either the grid gets modified or the panel gets moved. Access panels in drywall walls need blocking in the surrounding framing.
The right time to coordinate access door locations is when the ceiling layout is being set — not after the ceiling is installed.
Fire-Rated Access Doors
Access doors in fire-rated assemblies must be fire-rated themselves. A non-rated access panel in a 1-hour wall creates a breach in the fire separation. This sounds obvious, and yet it gets missed. On projects with multiple trades specifying their own access requirements, it’s worth auditing which penetrations fall in rated assemblies and confirming those doors carry the correct ULC listing.
Common Problems We See on Site
Frame set after drywall. On projects where the scheduling didn’t flag hollow metal frames early, we sometimes arrive to find a rough opening in a finished wall with no frame set. Installing a welded frame into a finished opening means cutting back drywall, resetting anchors, and refinishing. It adds time and cost that didn’t need to happen.
Wrong frame throat depth. The frame was ordered for a standard single-layer wall; the actual wall has double drywall for fire rating. The frame doesn’t fit the wall thickness. Options are limited: return and reorder (adds weeks), or shim and trim (looks worse).
Access doors not in the contract scope. Mechanical specifies them, the GC assumes they’re in the mechanical trade scope, the mechanical trade assumes they’re in the drywall scope. Nobody installs them. This is a coordination problem, not a technical one — but it’s common enough that it’s worth clarifying at the pre-construction meeting.
Non-rated panel in a rated assembly. Found at inspection. Requires removal and replacement with a ULC-listed rated unit, plus patching around the opening.
Our Scope on Commercial Projects
At Express Drywall Services, we install hollow metal door frames and access doors as part of our commercial drywall scope on projects throughout the GTA. We coordinate frame installation with the wall-framing sequence, flag throat depth requirements before ordering, and confirm access door locations against the ceiling layout before the drywall goes on.
We’ve worked alongside GCs, property managers, and developers on office, healthcare, retail and institutional projects across 35+ cities — from Mississauga and Vaughan to Barrie and Oshawa. Metal and access door installation is part of a complete commercial interior scope, and we treat it that way. Twenty years in the trade. All work backed by a 1-year warranty.
Get a Free Estimate
If you have a commercial project in the GTA that includes hollow metal frames, access doors, or a full interior drywall and framing scope, call Express Drywall Services at (416) 250-6856. Detailed, itemized quotes — no hidden fees. A qualified specialist on-site within 48 hours of contact.